Censoring Objects in Video Using Video Masks
Censor faces, license plates and other private or sensitive information
VideoStudio’s flexible interface makes it simple to censor objects within your footage, allowing you to keep tight control over the content in your videos. Learning how to accomplish these things with Video Masks will keep your video editing flexible, as you can censor information instead of needing to reshoot footage! Video Masks make it possible to protect the identity of people in your clips, preserve private information, and protect your audience from inappropriate, violent, or other sensitive content.
How to censor objects using a video mask
Let’s take a look at how to censor a face using a video mask in VideoStudio.
-
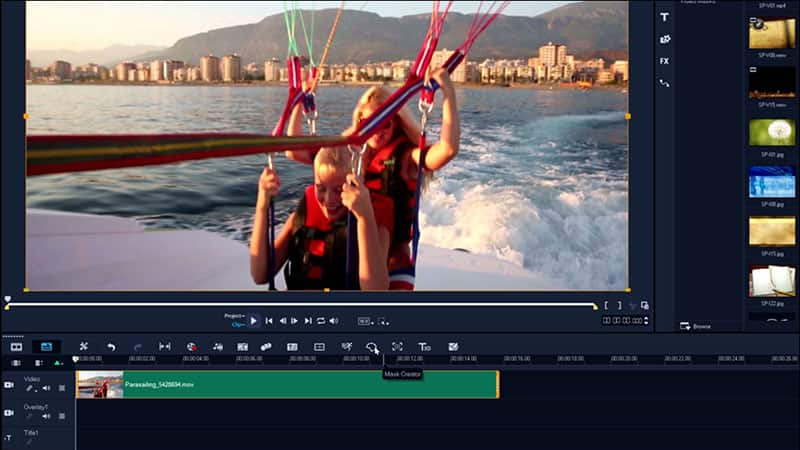
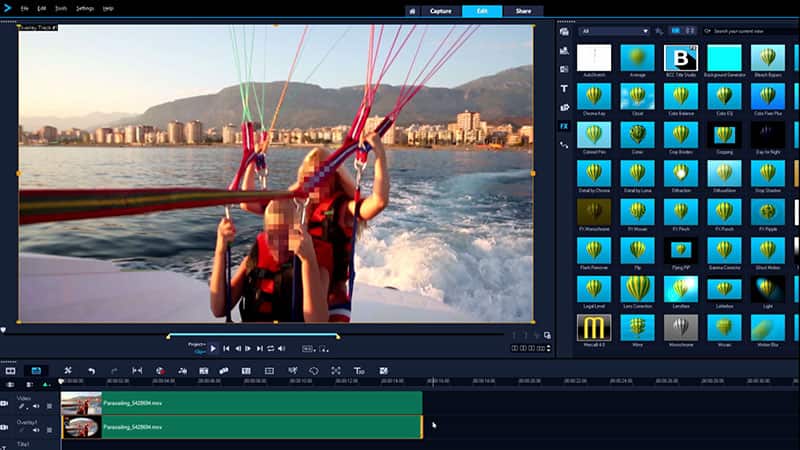
Select clip and open Mask Creator
Select the clip that contains the face you want to blur, and then click the Mask Creator button on the timeline toolbar.
![Select the clip]()
-
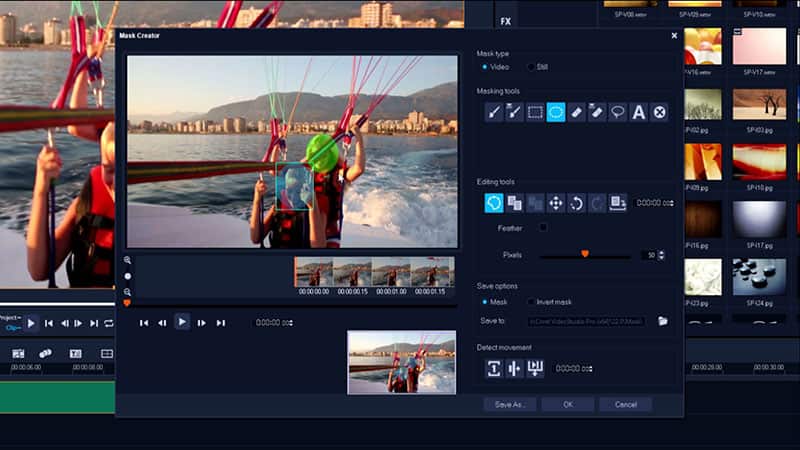
Create the mask
Use the masking tool of your preference to mark out the face. How precise you want this mask to be is up to you; generally the circle or rectangle masking tools works well for this.
![Create the mask]()
-
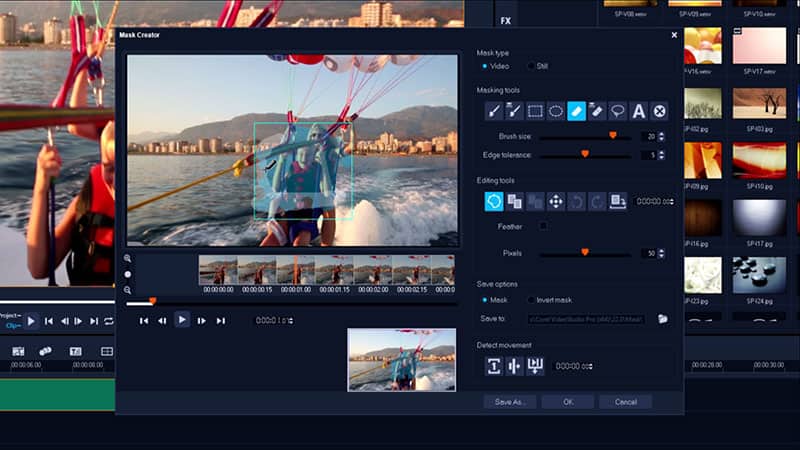
Track motion
Click ‘Detect movement and adjust mask to end of clip’ and VideoStudio will begin processing the mask automatically for you.
![Track motion]()

Need to Download VideoStudio?
Download a free 30 day trial now!
-
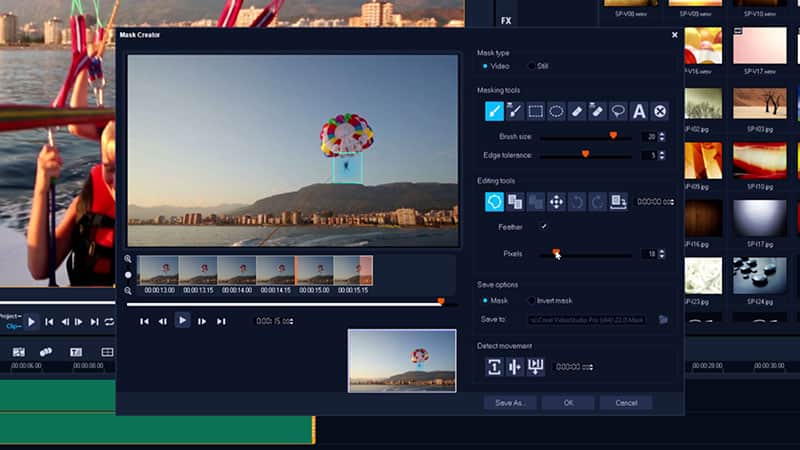
Make mask adjustments
Watch the mask creation process. If the mask creator starts to ignore areas of the object, click ‘Cancel’, go back to the frame where the problem starts, correct the mask, and then click ‘Detect movement and adjust mask to end of clip’ again. The program will start the automatic masking process from the point where you made the correction.
![Make mask adjustments]()
-
Feather the mask - OPTIONAL
Once the mask has finished processing, click ‘Feather’ and use the slider to adjust the blending of the outside of the mask to fit your liking. This is not necessary, but recommended to ensure you fully cover the face. When you’re finished, click ‘OK’ to complete the mask and return to the timeline.
![Feather the mask - OPTIONAL]()
-
Apply blur or distortion effects
Now that your mask has been created, you can apply Mosaic Blur and other distortion effects to your object by dragging and dropping them to your mask on the timeline. Adjust the level and type of distortion to your liking.
![Apply blur or distortion effects]()
If instead of censoring a face you wanted to brighten or enhance it, you can easily do so by double clicking the mask you’ve created within the timeline and then adjusting the exposure and color levels to your liking. Drag visual effects to your mask or original clip to achieve more creative results.
See the full process for targeting subjects or objects with visual effects using Video Masks.