Removing Unwanted Objects From Video Using Video Masks
Prevent distracting background objects from stealing the focus of your audience
There is not always time to reshoot footage when it doesn’t go exactly as planned. Whether it’s a person who wanders into the background, or a distracting object that interferes with the focus of your shot, video masks are a great tool to use to clean up your footage. You can use a video mask to cover and replace the area where the distraction is occurring. Since video masks can be enabled to track that distracting object for you, using a video mask will minimize the manual adjustments required, saving valuable editing time.
How to remove objects using a video mask
Here, we’ll create the illusion that a beach is empty by hiding a young woman sitting in the sand from view.
-
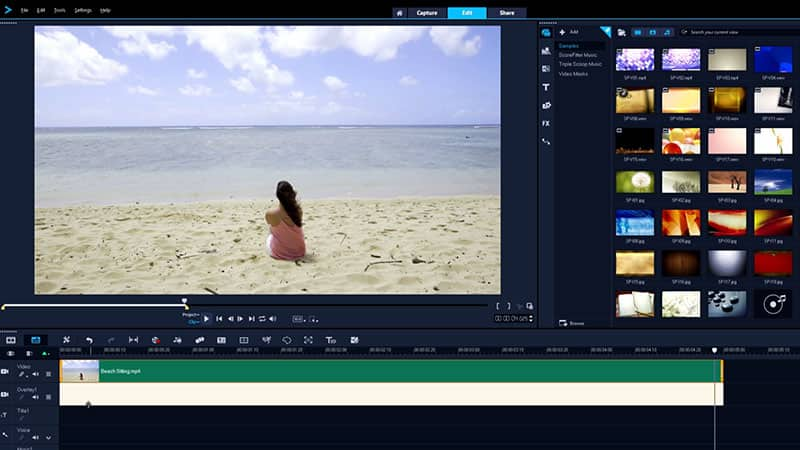
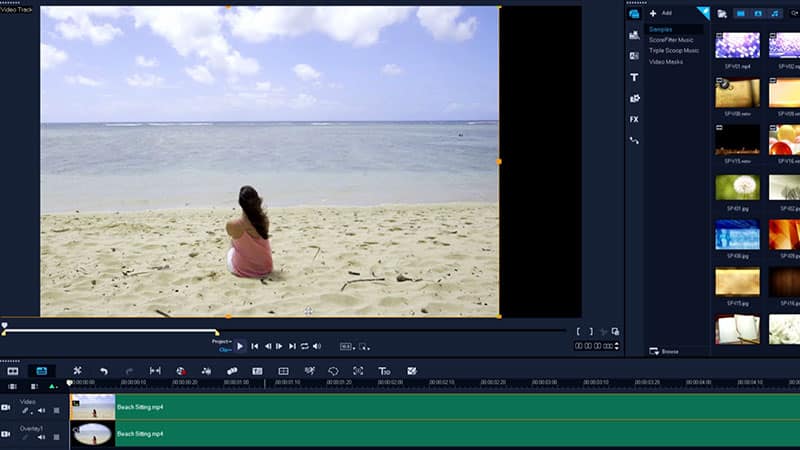
Duplicate your clip
Select the clip you want to edit. Duplicate the clip in the timeline, and drag the duplicated clip to an Overlay Track. You may need to resize the clip to fill the frame.
![Duplicate your clip]()
-
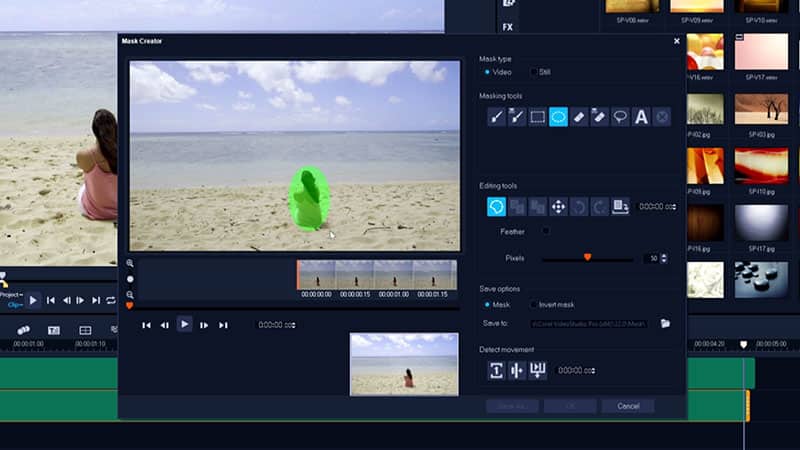
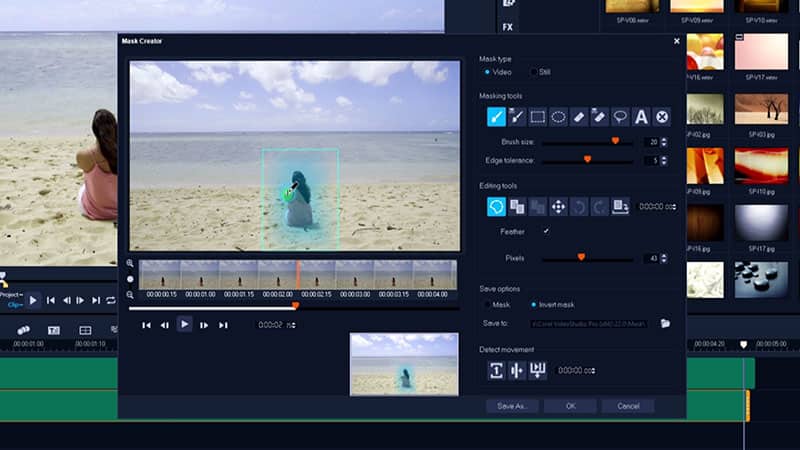
Create the mask
Select the Overlay track clip, and then click the Mask Creator button on the timeline toolbar. Draw a mask over the object you’d like to remove using the masking tool of your choice.
![Create the mask]()
-
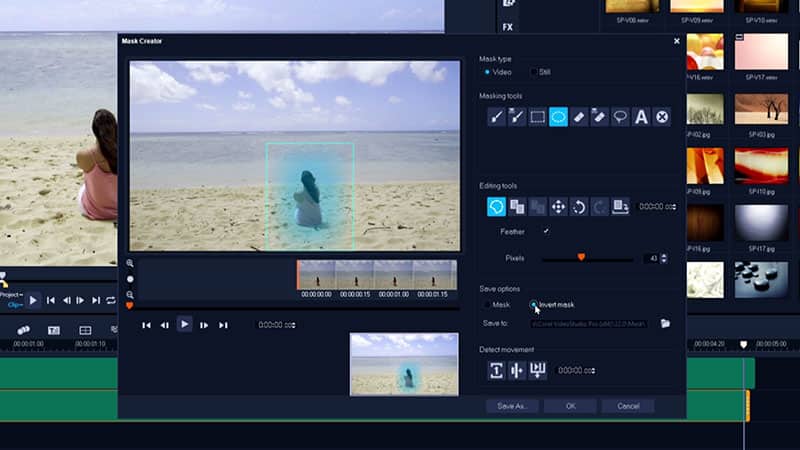
Feather and Invert your selection
You want to feather the mask to improve smoothing with the layer below. After feathering, click ‘Invert’ as we want everything except the area we’ve selected to be visible. Generally this is easier than selecting everything except your subject to begin with.
![Feather and Invert your selection]()
-
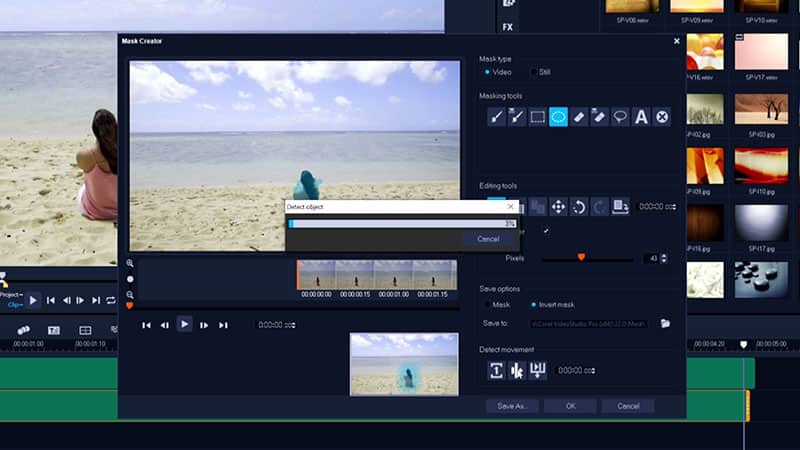
Track your object’s motion
Click ‘Detect movement and adjust mask to end of clip’ to begin the automatic mask creation, tracking your object across all frames.
![Track your object’s motion]()
Need to Download VideoStudio?
Download a free 30 day trial now!
-
Make manual adjustments
Watch the progress of the mask. If it starts to ignore areas of your subject, click ‘Cancel’ and go back to the frame where the problem starts, correct the mask, and then click ‘Detect movement and adjust mask to end of clip’ again. The program will restart the automatic masking process from the point you’ve made the correction. Once the mask looks good, click “ok” to return to the timeline.
![Make manual adjustments]()
-
Shift the mask to hide your subject
Move the original clip in the preview window so that your subject no longer shows through the mask. Click ‘Project’ or click on the timeline at any point during your clip to check the position of your clips to ensure the object is hidden. Play the clip through to ensure everything looks smooth.
![Shift the mask to hide your subject]()
Now that you’ve removed the distracting object from your footage, take a look at using video masks to enhance your subject or add a creative title!