Create Unique Titles Using Text Masks
Using video masking to create unique, visually powerful titles to enhance your video
From captions in silent films to grand opening sequences, text has always carried significance when included video productions. Text can be used to set the scene, to introduce themes or characters, to indicate a change in location, and more. Whatever the information being given to your audience through text, the visual style of the text can say just as much.
Title sequences vary greatly across the types of projects, but are often vitally important in setting up your viewers for the experience you’d like them to have. Beyond regular title creation tools, you can use text masks to add truly unique and powerful text to your videos. Text masks are a great way to add depth, context and interest to your project.
What are text masks?
Traditional titles are created as text overlays that sit on top of your footage. Text masks are different, as they allow you to play your footage within the outline of your text.
Text masks are a type of still mask. Regular still masks can be created with basic brushes and shapes to show footage through. Text masks instead use your input text to create the mask shape. you can use text masks to design a mask using your input text quickly and easily, instead of having to create the shape of words with blocky tools or brushes.
How to create a text mask
Let’s take a look at using a text mask to create this unique title for a video project using VideoStudio.
-
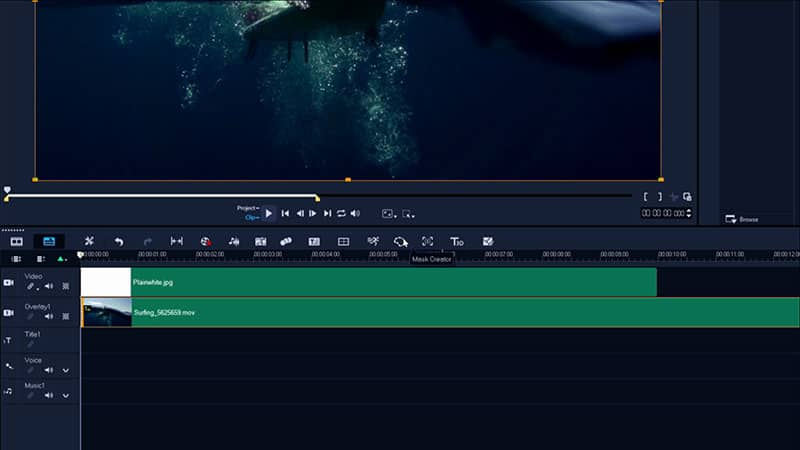
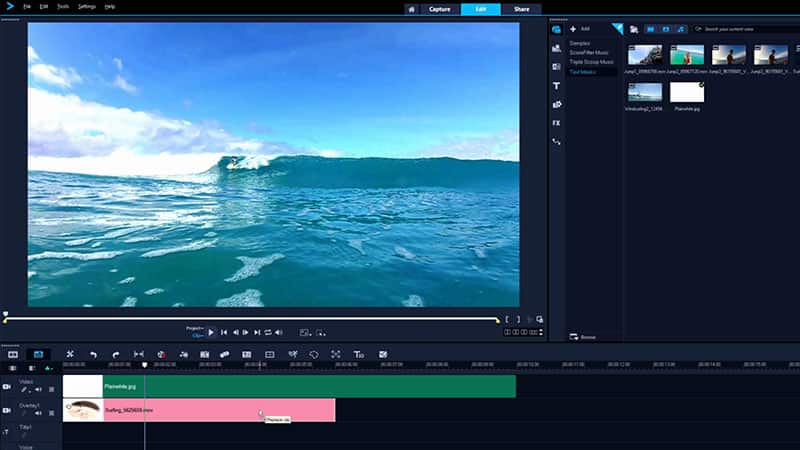
Layer your clips
Set the clip you want to show through your mask in the overlay track above the clip you want in the background.
![Layer your clips]()
-
Open Mask Creator
Select the clip that you want to have showing through your text mask, and click the Mask Creator button on the Timeline Toolbar.
![Open Mask Creator]()
-
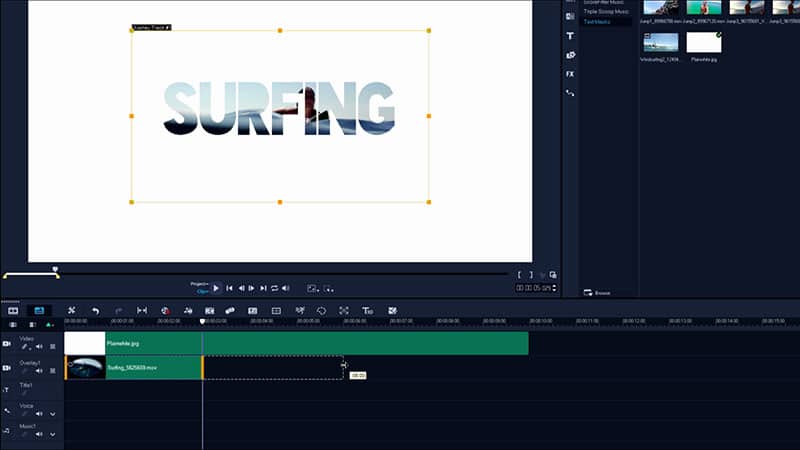
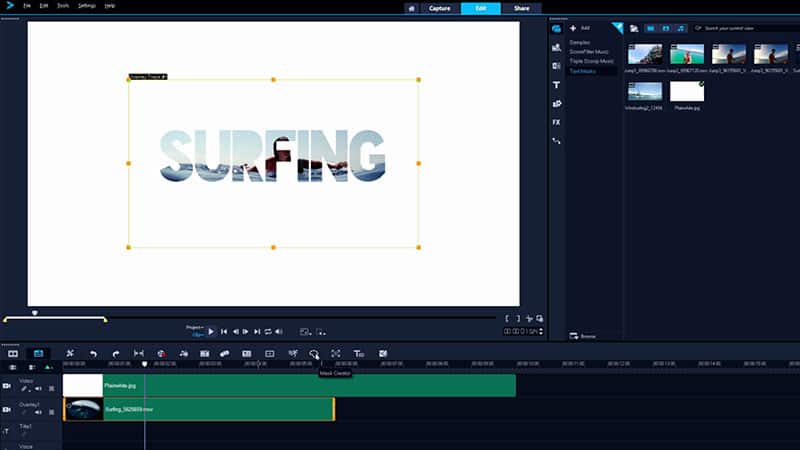
Create the mask
Set the mask type to ‘Still’, then use the Text Mask tool to add your title. Adjust the font and size to your liking.
![Create the mask]()
-
Adjust the mask
When the text is correct, use the ‘Move Mask’ tool to set it into position over the video, ensuring the parts you want to show through are covered with the text mask.
![Adjust the mask]()
-
Invert Mask - OPTIONAL
If you want to invert the text mask, in the Save options area, click the Invert mask option.
![Invert Mask]()
-
Position the mask
Once the text mask is looking right, click OK to add it to your project. You can then resize and position the text mask over your other clips in the timeline preview window.
![Position the mask]()


Need to Download VideoStudio?
Download a free 30 day trial now!
Apply additional edits to your text mask
Simply select and then drag the end of the text mask on the timeline to shorten or extend it.
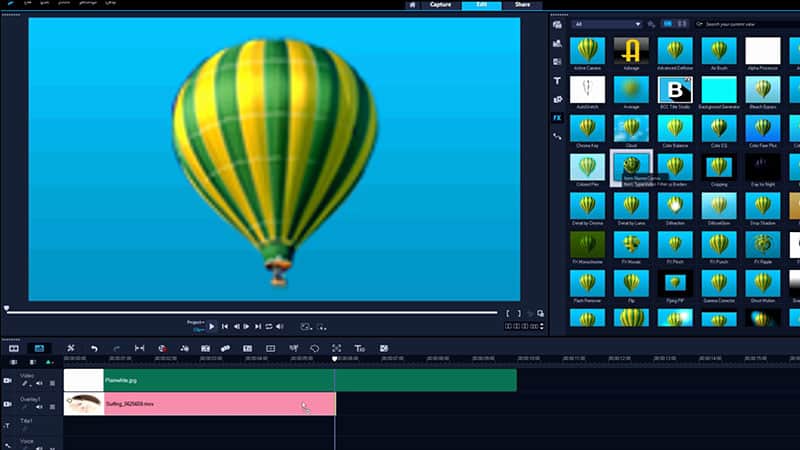
Choose a creative filters or effect, then drag and drop it to your text mask on the timeline to apply it.
Easily swap out masked clips by dragging your new clip to the text mask on the timeline, and dropping it in while pressing CTRL.
Make additional adjustments by selecting your text mask on the timeline, and clicking the Mask Creator button on the Timeline Toolbar.
Give more variety to your title by duplicating your mask in the timeline, then replacing the masked clip.
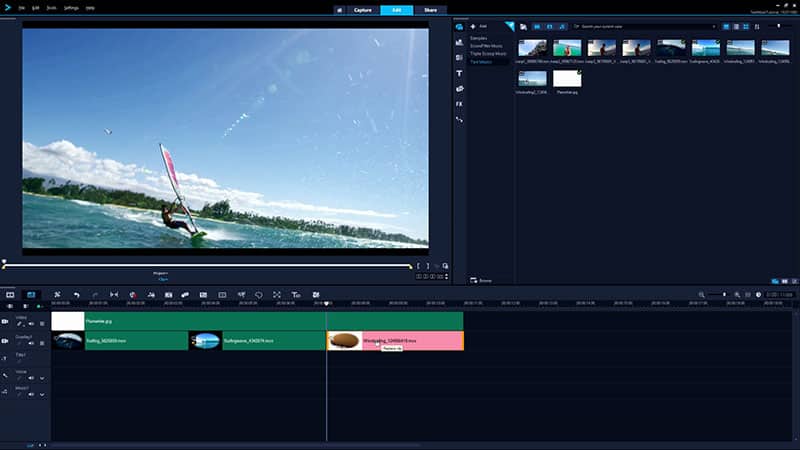
After completing these steps, we have created a text mask that looks like this!
Why use VideoStudio for your text masks and video edits?
VideoStudio’s makes text mask creation easy with the text mask tool built into the intuitive Mask Creator window. Text masks are just one of many creative possibilities that are easy to learn and intuitive to use with VideoStudio. Take your titles to another new level with video masking or make use of one of the built-in title presets to truly transform your photos and videos into productions you’ll be proud to share.
It’s simple to apply quick edits and customize motions with the intuitive tools in VideoStudio. Get creative and play with speed, create split screen videos, add custom motions and zoom effects, or tap into tools like screen recording, 360 video editing, and more!
Learn more about creating video and text masks in VideoStudio: