How to create a seamless transition
The Seamless Transitions are motion-based animated effects that blur the passage from one clip to the next, creating what is sometimes known as an invisible cut. Whether the motion is up, down, or to the side, the result is similar to a whip pan effect. Some transitions include rotation and you can edit the transitions to control the zoom level, position, edge softness, and duration. For example, you can zoom in and align the sky in the first clip with a similarly colored sky in the second clip, ensuring that the transition is as seamless as possible.
-
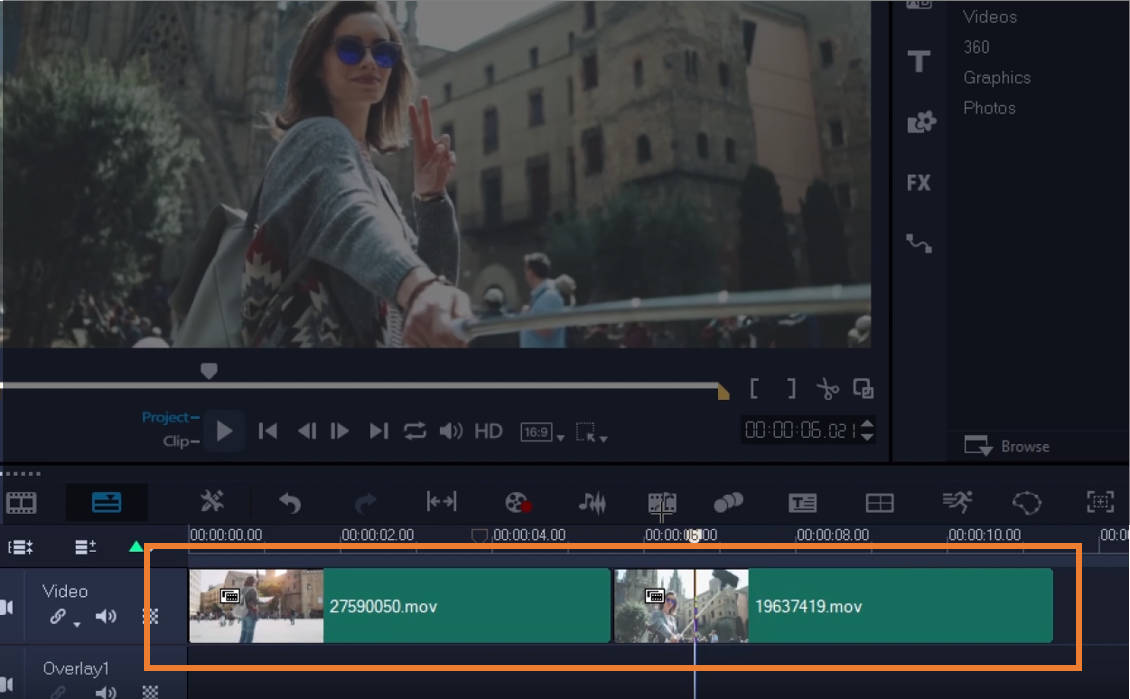
Add media to the timeline
Add your two clips to the timeline side by side. Make note of which edges you want to use for the transition (for example, the top edges because the sky areas match).
![Add media to the timeline]()
-
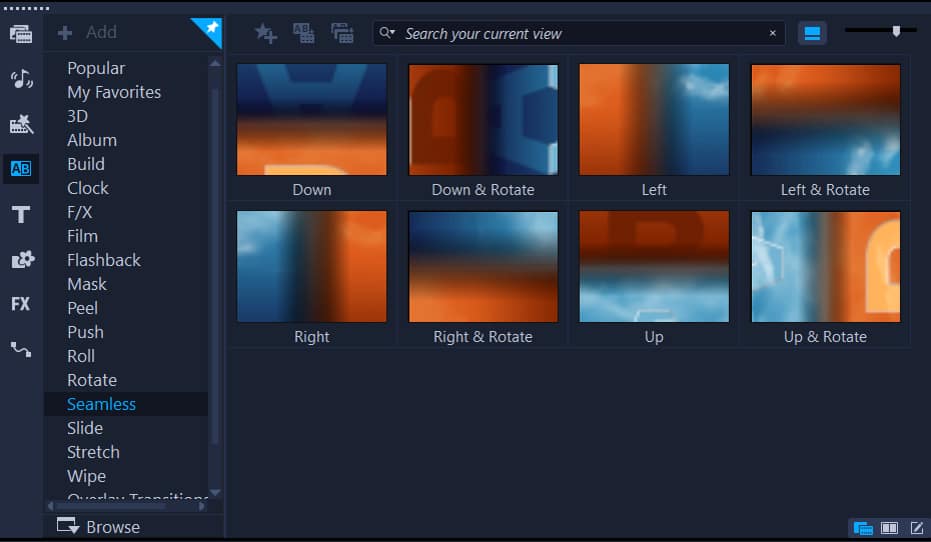
Add Seamless Transition to timeline
In the Library, click the Transition category button, and choose Seamless from the Gallery drop-down menu.
Click a transition thumbnail and preview it in the Player panel to ensure that it will align your target edges.
Drag the selected thumbnail to the Timeline, between two clips.
![Add Seamless Transition to timeline]()
-
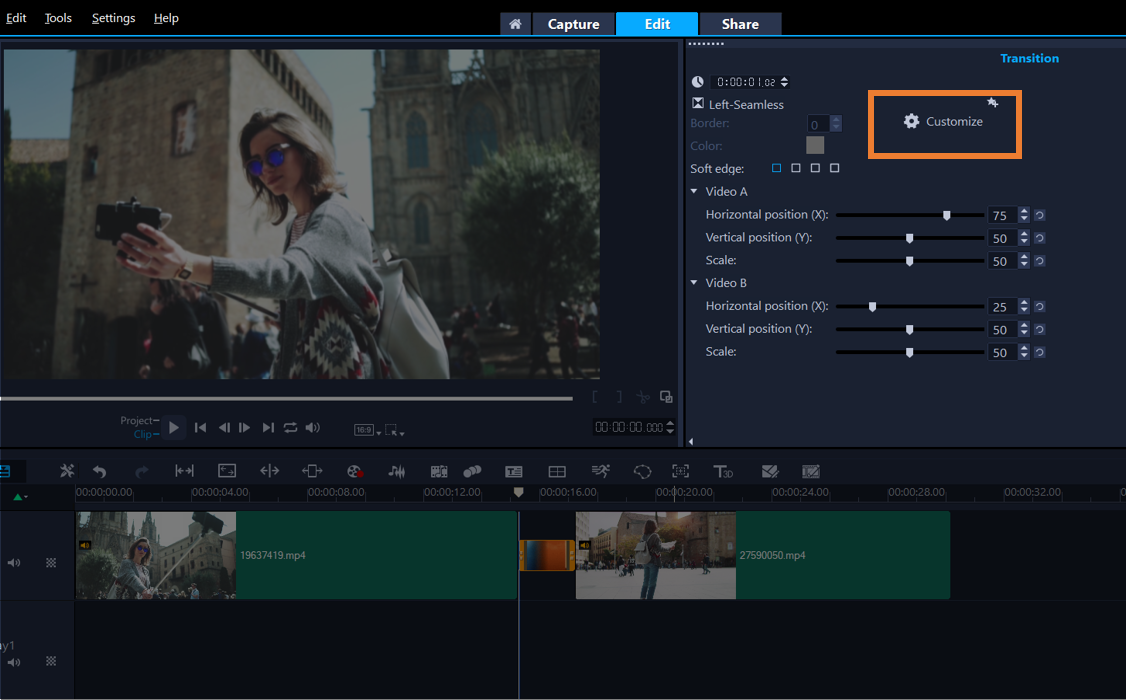
Preview and edit transition
Preview the results in the Player panel. To adjust the duration of the transition or to set where the transition starts and ends, drag the edges of the transition in the Timeline. You can stop here if you like the results.
To edit the transition, double-click the transition in the Timeline to open the Options panel and select Customize.
![Preview and edit transition]()
-
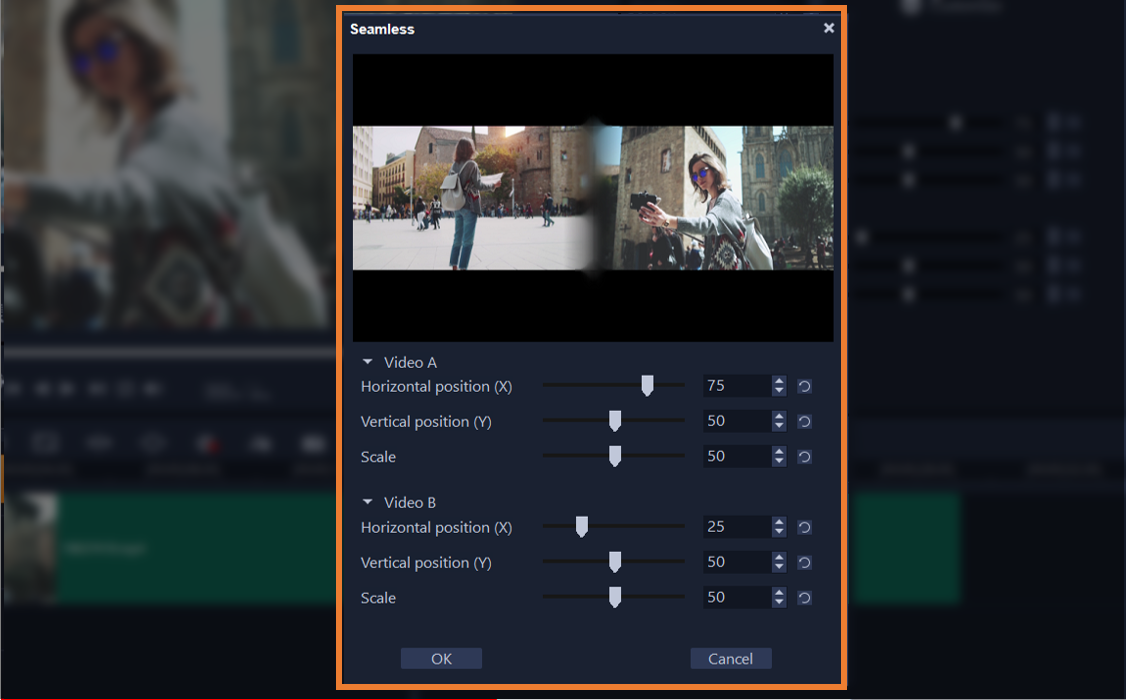
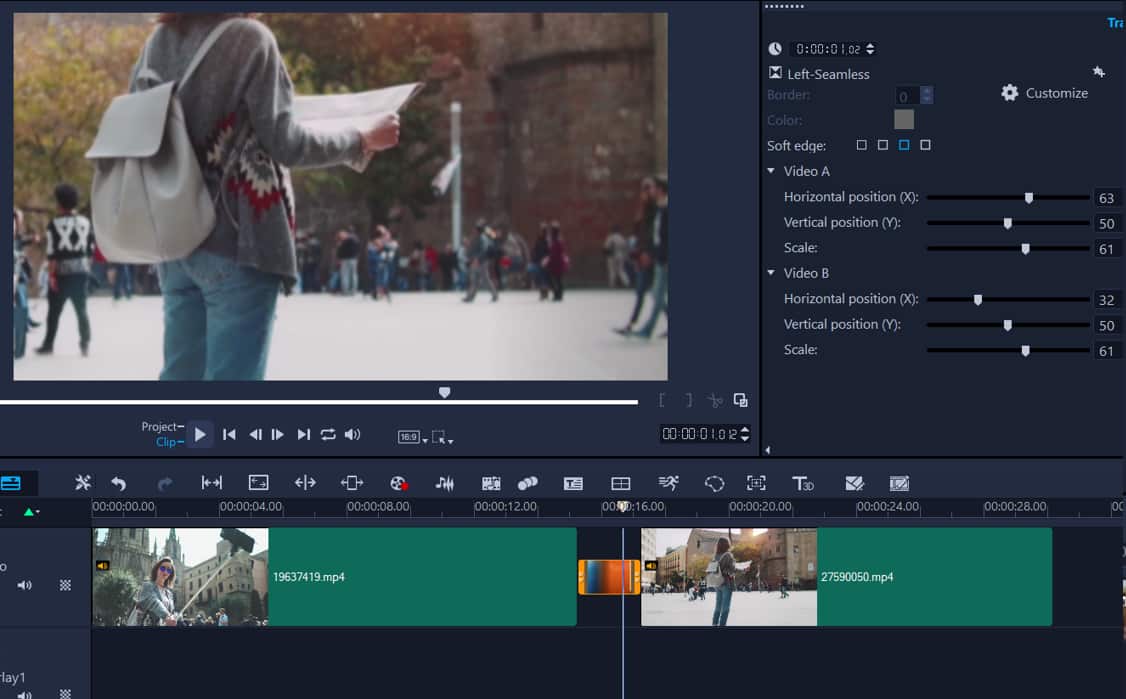
Edit Seamless Transition
Adjust any of the following settings directly in the Options panel, or click Customize for a more global view of clip position and size:
- Duration: Sets the overall length of time for the transition.
- Soft Edge: Adjusts the softness of the edge along the transition line for the clips.
- Horizontal position: Lets you align the left-right (x-axis) position of the clip.
- Vertical position: Lets you align the top-bottom (y-axis) position of the clip.
- Scale: Adjusts the size of your clips to create a zoom in/zoom out effect. This can also help you maximize the alignment of areas that match in each clip.
![Edit Seamless Transition]()
-
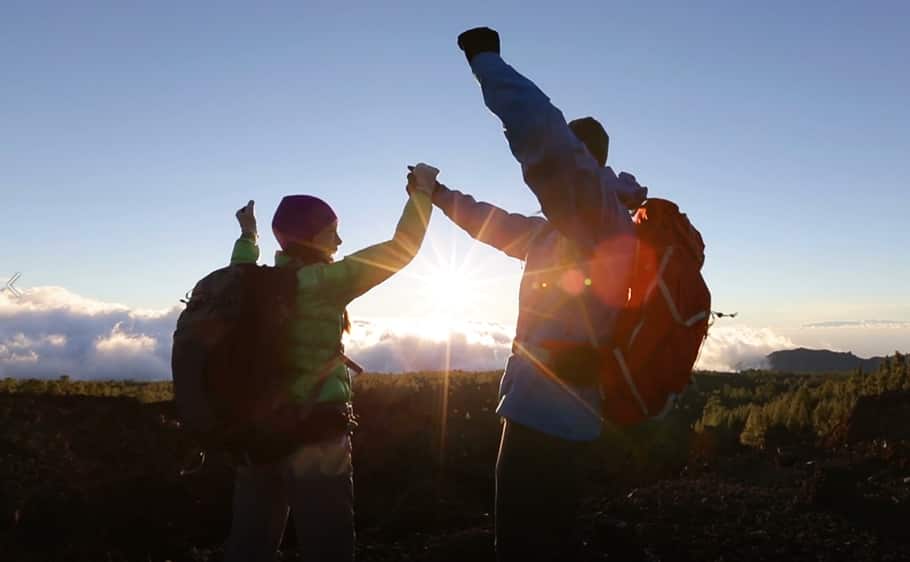
Preview & complete
Click OK to exit the editor and to return to the Timeline.
In the Preview area, use the playback controls to preview the transition. If required, adjust the guide lines to fine tune the transformation.
![Preview & complete]()