How To Use Audio Ducking
You can use audio ducking with video editing software like VideoStudio. Follow along with our tutorial below to learn the easiest way to use audio ducking. Audio ducking is a great tool for video editors that can elevate the quality of your videos quickly and effectively. It’s a way to increase the volume of one audio track at the same time that another decreases. So if you want the music to fade when someone begins speaking, or the music in build when the voice stops, then audio ducking is a vital tool to get to know.
Using Audio Ducking to automatically adjust volume
Audio ducking (similar concept to side-chaining) is used to automatically lower the volume of one track so that you can hear another track better. For example, if you have a video project that includes music and voiceover, you can use audio ducking to automatically decrease the music volume when the narrator is speaking. You can adjust the threshold that triggers “ducking” and you can adjust by how much the volume of the background track will drop.
-
Install VideoStudio
To install VideoStudio video editing software on your PC, download and run the installation file above. Continue following on-screen instructions to complete the setup process.
-
Select Audio Track
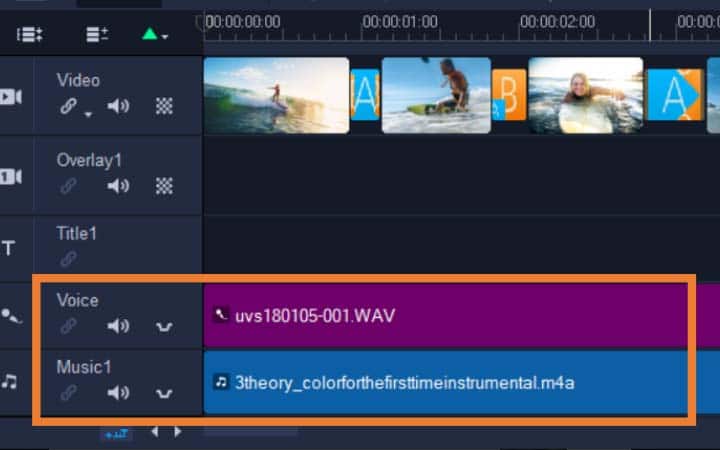
In the Timeline view (Edit workspace), ensure that the track you want to apply “ducking” to is below the video, overlay, or voice track that you want to feature. In this example, the purple track is our voiceover track, and the blue track is our soundtrack that we want to apply the ducking too - this means, that when there is voiceover playing, the soundtrack will lower in volume.
![Select Audio Track]()
-
Select Audio Ducking
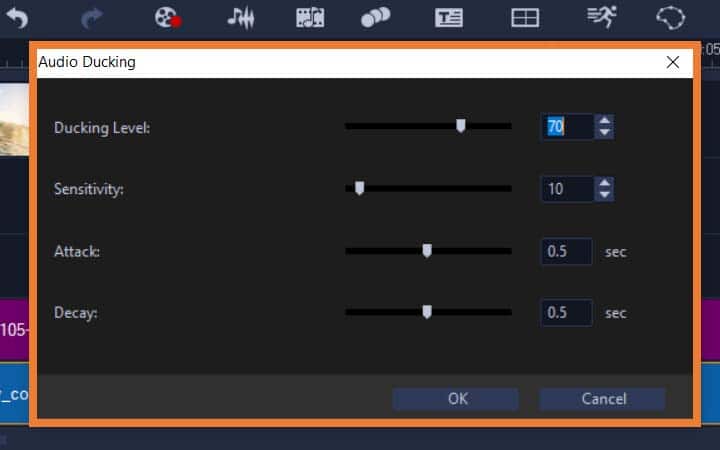
Right-click the music track that you want to “duck” and select Audio Ducking from the drop down menu and adjust the following parameters - or keep them as default and press okay to see results. In the Audio Ducking dialog box, adjust the following sliders:
- Ducking Level — determines the volume decrease. Higher numbers indicate lower volume.
- Sensitivity — determines the volume threshold (read from the track above the selected track) required for ducking to occur. You will likely need to readjust the Sensitivity slider to achieve the results you want.
- Attack — determines the time it takes to lower the volume to the Ducking Level setting after the Sensitivity threshold is met.
- Decay — determines the time it takes to return to the regular clip volume from the Ducking Level
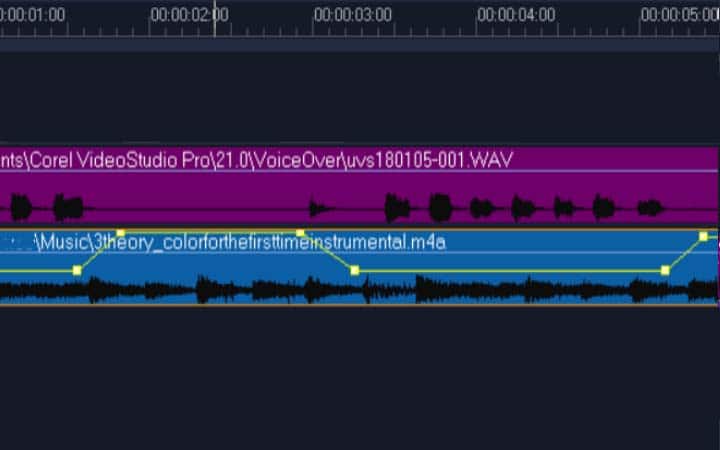
In these examples, the voiceover is the purple track and the music is the blue track. The yellow line in each example indicates when and by how much the volume of the music track is lowered by applying different Sensitivity settings for Audio Ducking: Top = 0, Middle = 2, and Bottom = 30. In this example, a setting of 2 worked best.
![Select Audio Ducking]()
-
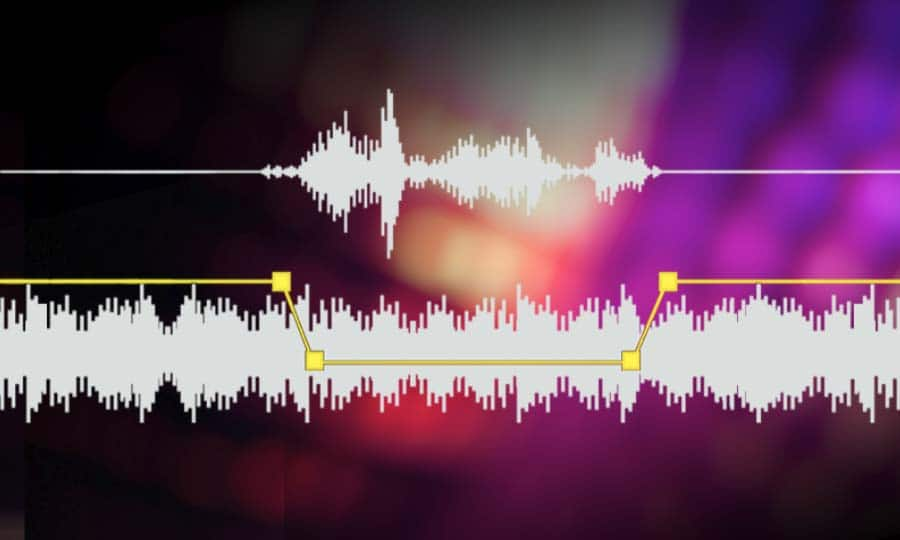
Make fine audio adjustments
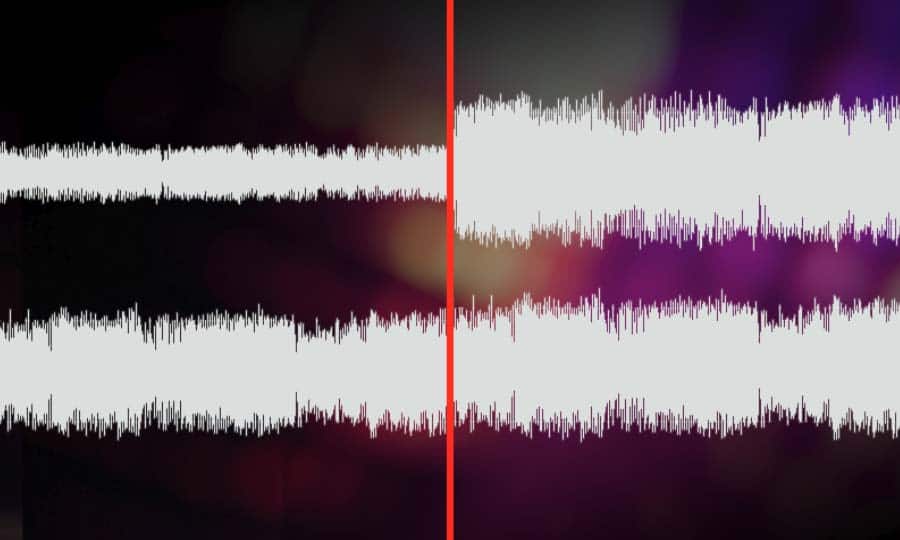
Results show, that when dialog is detected in the voiceover track, there has been dips to the volume of the sound track. You can fine-tune and tweak Audio Ducking results manually by dragging, adding, or removing keyframe nodes on the yellow volume line.
![Make fine audio adjustments]()